
There is definitely more than one way to do this; this is how I do it. I also do square and other shaped blocks like this most of the time. I have done some piecing by machine, but this is my favorite way.
I printed out the template for the heart shape from the CQ for Newbies site. Then I taped it to the window, and taped my muslin foundation over it.

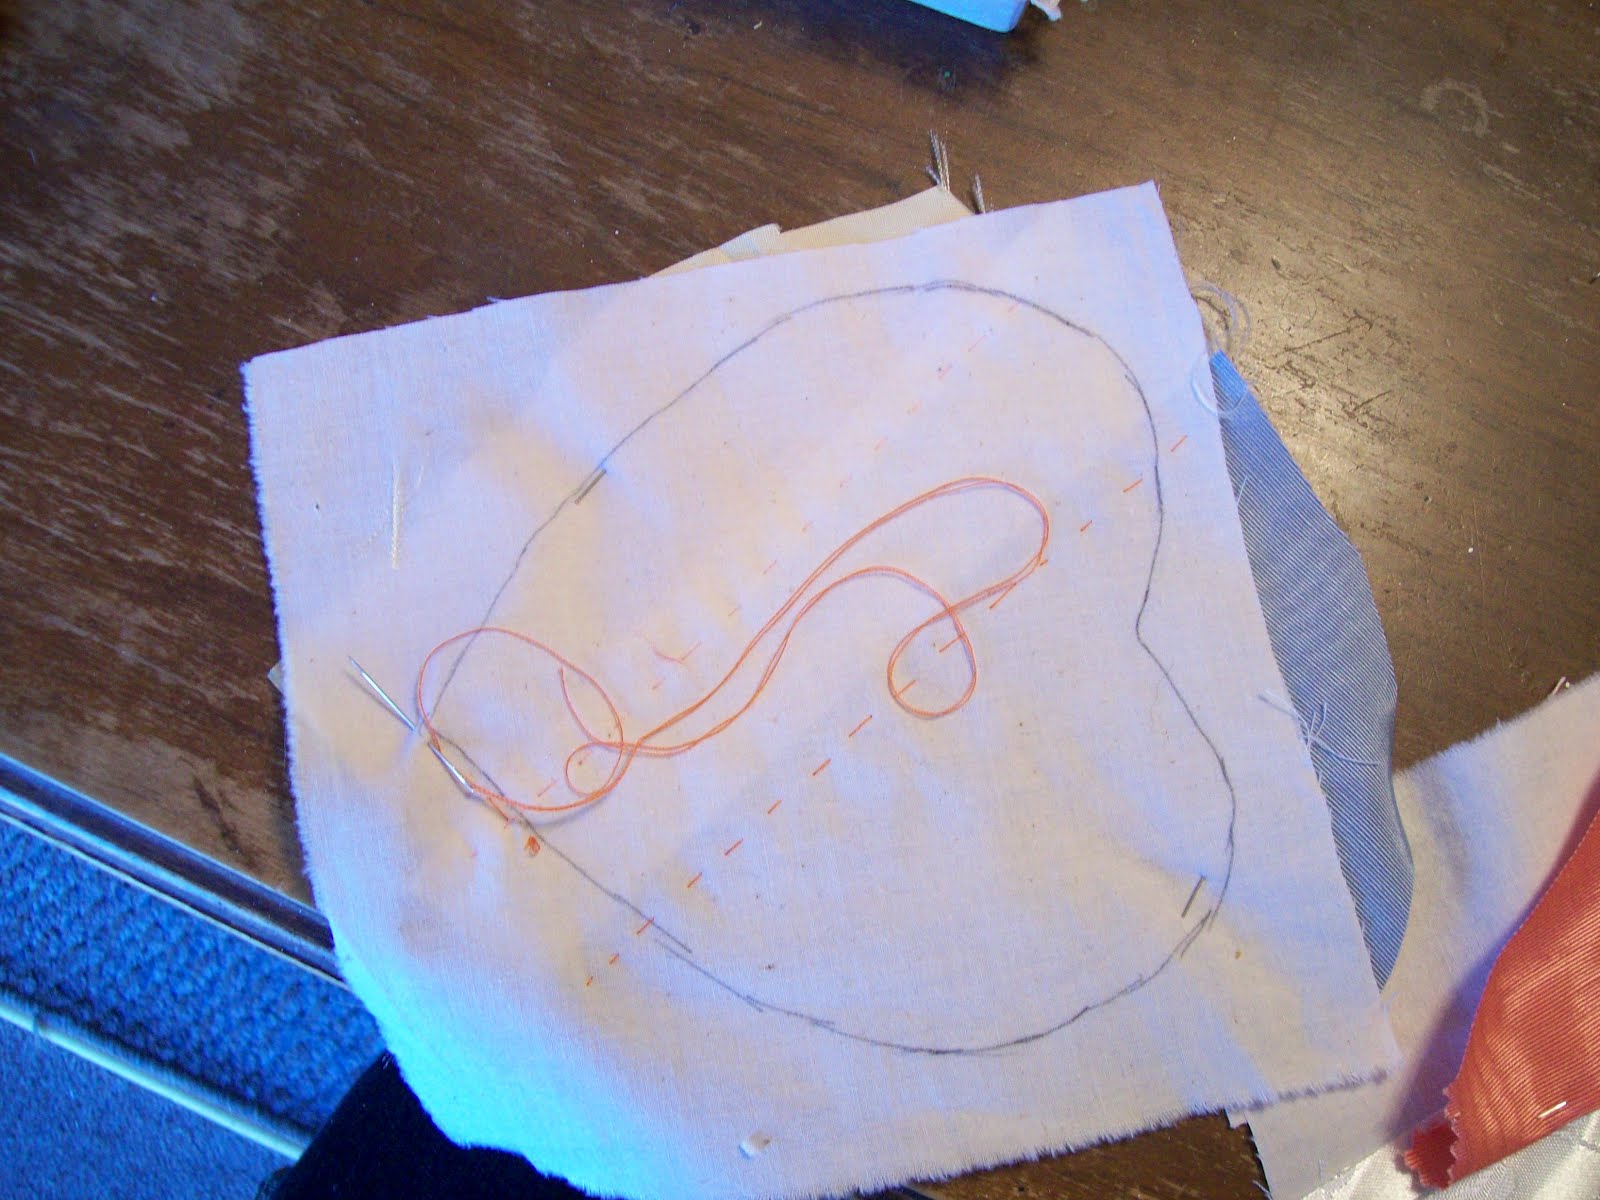
I trace over the line, using a regular old ball point pen. I've found that the ink doesn't run if it gets wet, and it will become the stitching line, so it won't be visible in the finished product, whatever that may be. After tracing the first side, I flip it over and trace the same line on the other side; I want to be able to see that line from both the front and the back of the foundation. I need to see it from the front when piecing, to know how far the fabric needs to extend (at least 1/2" beyond the line). I also need to see it from the back to get the shape cut out correctly.

Choose fabrics and position them on the foundation, turning under 1/4" where one fabric overlaps the other and pinning it down. I did two hearts, one pink and white, and one blue, white, and gold.


Thread a needle with a contrasting color sewing thread. Hand-baste along the seam line with a running stitch about 1/4" from the edge. This thread will be pulled out as each seam is embellished or embroidered.

Then flip the heart over to the back side and hand-baste 1/4" outside the ink line. This will not need to be pulled out, as it will end up in the seam of the finished product. It holds all the fabric layers together while you're embellishing. Give it a good pressing from the back with an iron.
Two hearts ready to be embellished. I'll post some more photos after they're done.

3 comments:
thank you Janet, sure that will be very helpful to the newbies! great tutorial!
You make it look so easy! I might "need" to try this!
Barb in Syracuse
I love how this tutorial breaks down each step of piecing, making it seem very approachable.
Post a Comment